tile mud! More than 15 days after completion of construction participatory and I just take the time to give news.
Firstly, welcome new visitors. The journal
"The house" gave the address of our blog in its latest issue. So you new visitors feel free to participate.
On that famous slab of earth-it seems to me that the term Fork, as it is finished, would be more appropriate, we organized a participatory starts on Saturday 3 and Sunday, June 4 Thank you to all participants, namely: Sebastian, Amelia, Thomas, Romain, Aurora, Pierre, Jean Louis, Thierry, Anne, Jean-Phi, Helen and Rudolph. Of course, Veronica and myself have participated. Finally thank you to those who provided his advice: Lou. It is indeed
Lou Malvido who provided expertise and know-how.
Before embarking on the description of mixtures and the technique used, I must remember that what we have done here is the specific characteristics of our land. To make your home like a yoke, it should be done prior testing.
Our tests were performed with 2 different lands and techniques that allowed us to get an idea of the final.

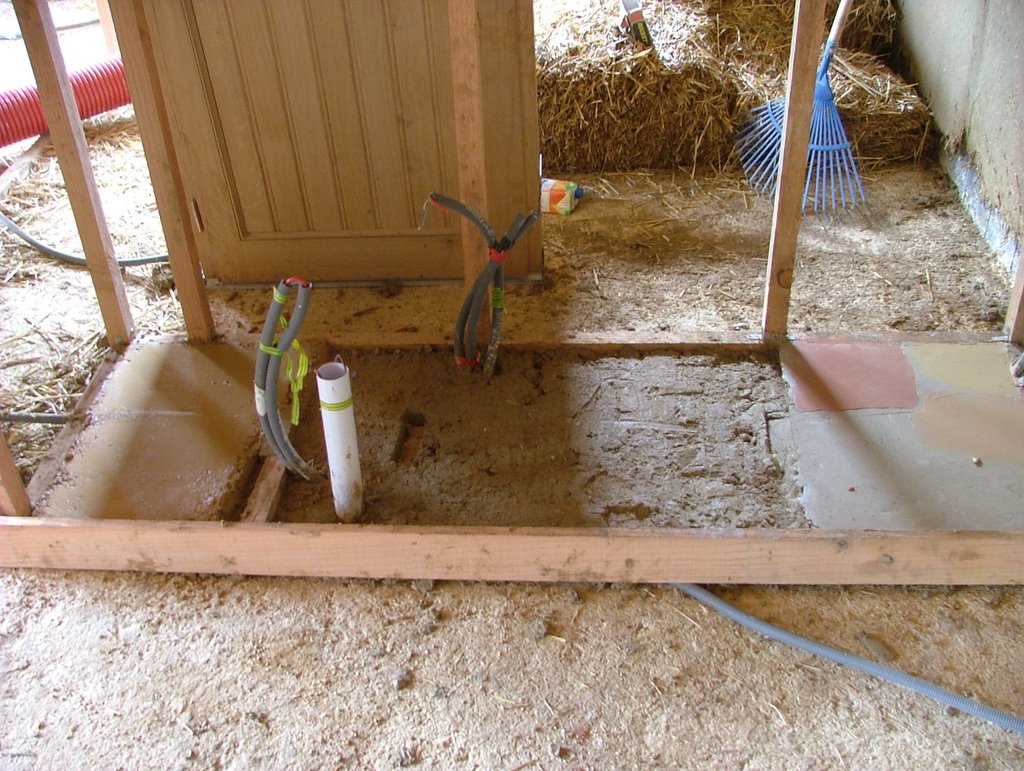
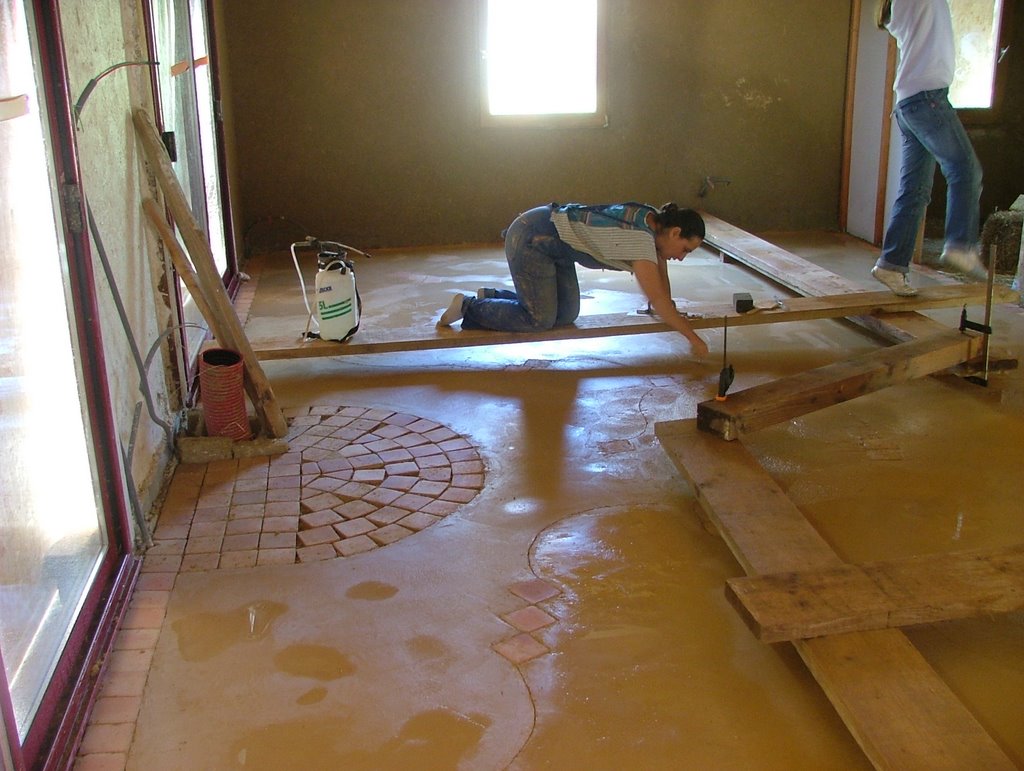
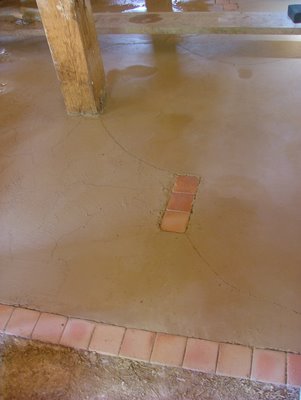
Above all we made the choice to "marry" the clay (terracotta) screed to our land. These tiles come from a traditional brick Vendée
These ceramic tiles have been laid up to finished floor (ie slab lime-hemp-straw + 6 cm). These tiles were used to "shoot" levels to the cap in the ground. In fact these are benchmarks that we have been very useful. Word of advice to potential future builders: be careful that the pins are properly installed and the mortar (lime-sand here) has had the time necessary for its decision. We had some little problems here because of course we did not fully complied with these basic rules ... and many tiles were loosened during construction!
Regarding the cap, we did it in 2 layers.
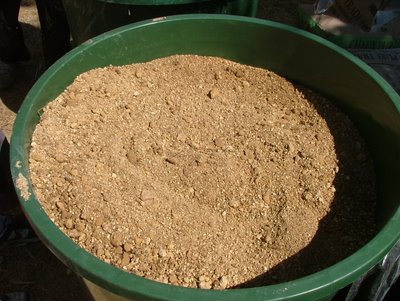
- The first consists of the land that we used for plaster walls. this land is rather heavy clay soil. He was allowed to settle in bins of water and then kneaded in the mixer (incoyable is not!).
this earth, we have added (for a volume of soil), sand 0 / 3 (1.5 volume) of washed limestone 10/20 (3 / 4 volume) and lime NHL 5 (10% of volume).
All these ingredients were mixed in mixer, starting with the dry (gravel and sand) and then the earth (Consistency of yogurt) and finally water (not too).
This mixture should not be too wet.
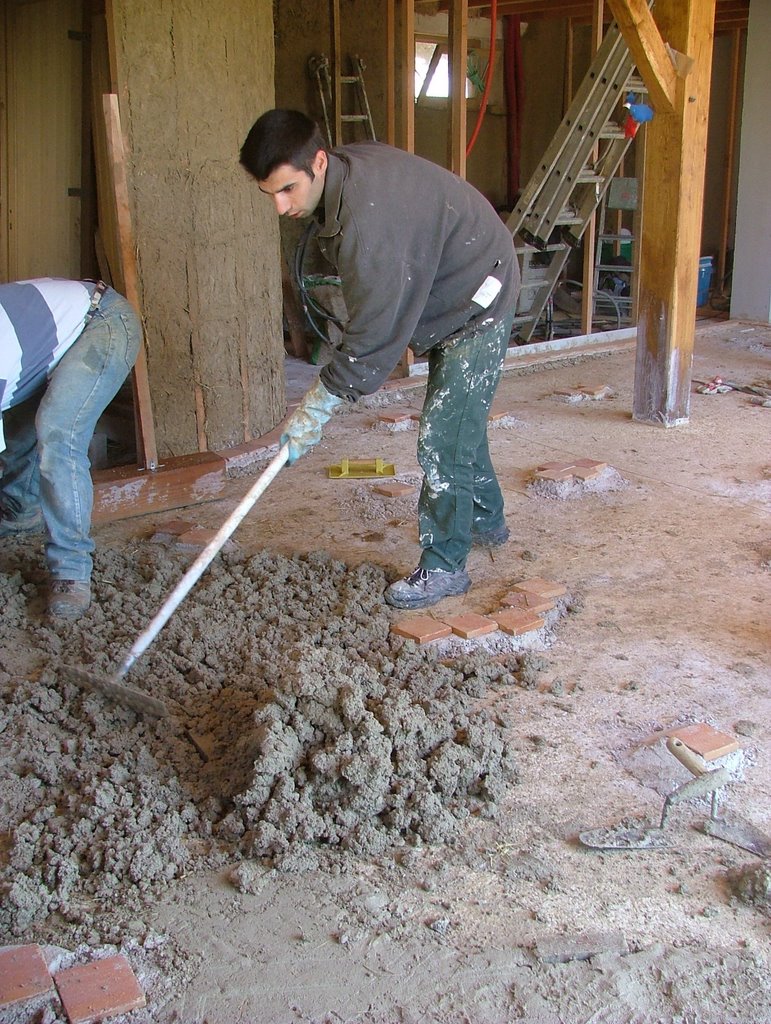
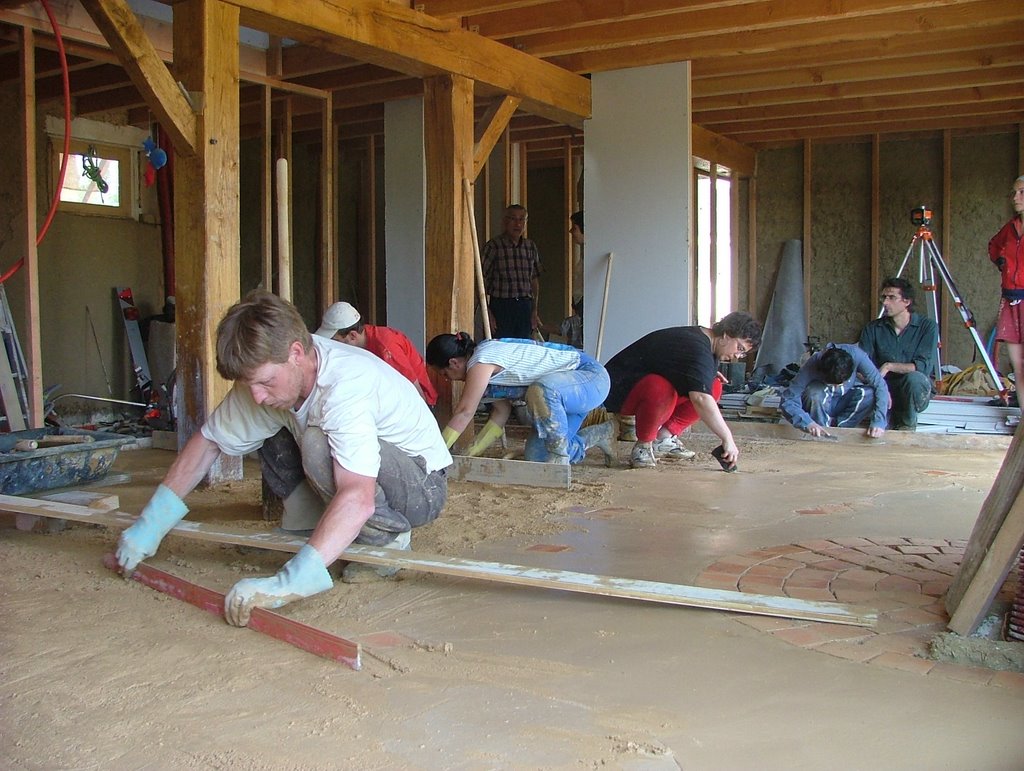
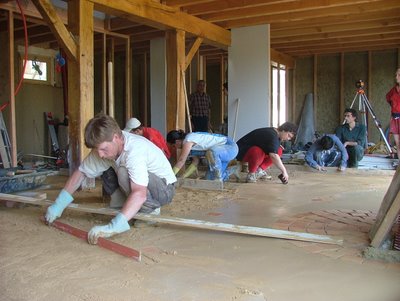
This layer is placed on the existing floor and 3 cm it is spread to rake, trampled with his feet, pulled level with a ruler and then rammed through a persuader. This tool is the basis for rectifying the bales but it has proved particularly effective for grooming.
This layer is applied over the entire surface (40 m here).
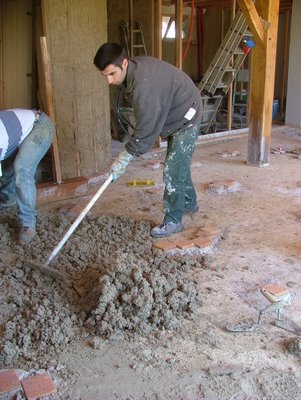
Application to rake

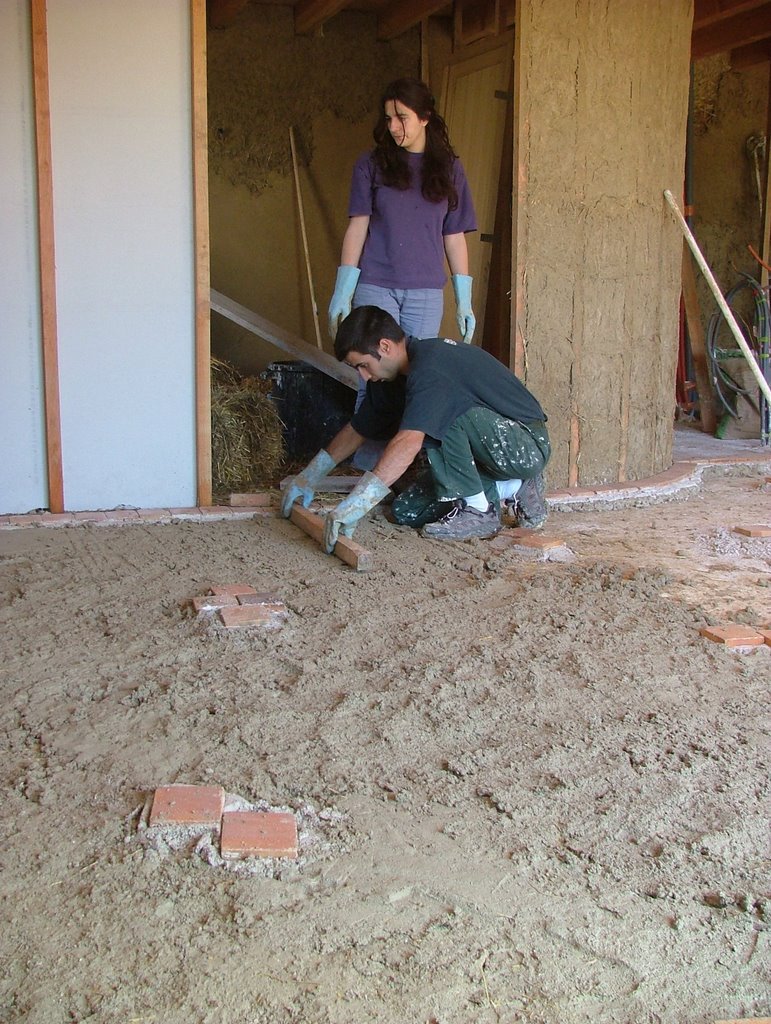
Upgrading

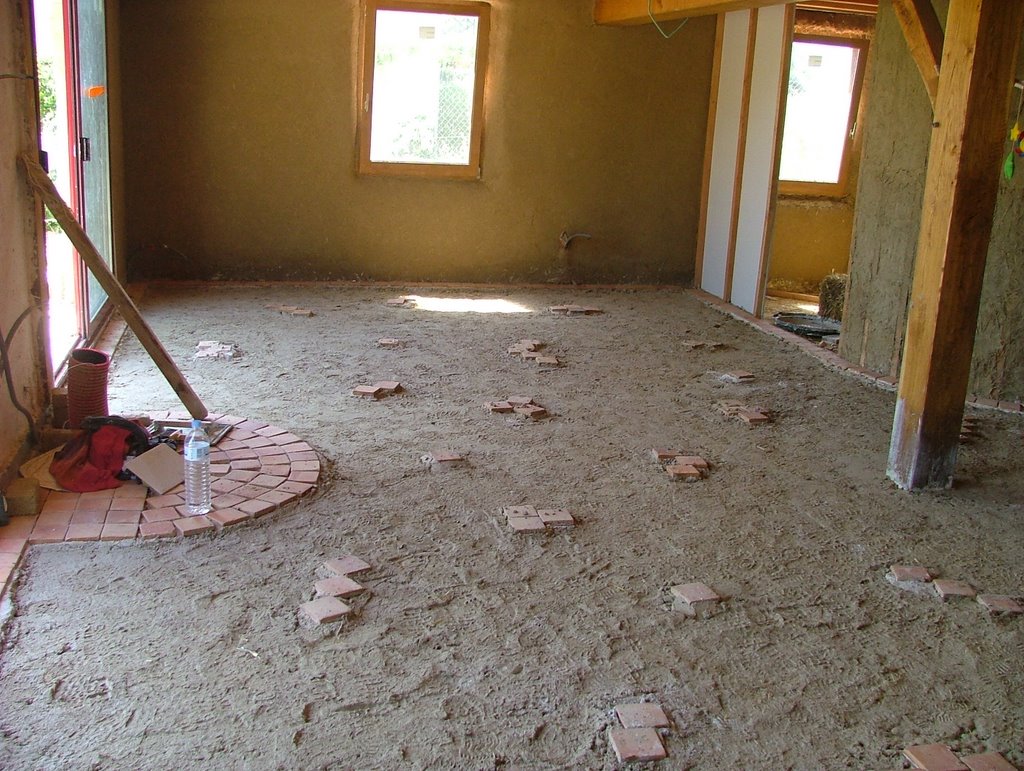
The result after the first layer
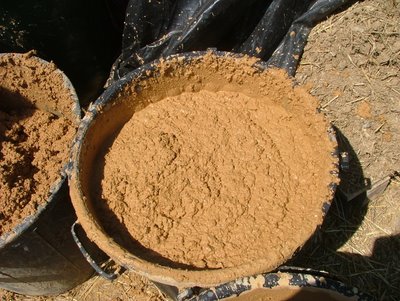
-The second layer (and last) is a little different. Already, it is a feat for those who know our field, we used the land from us!!
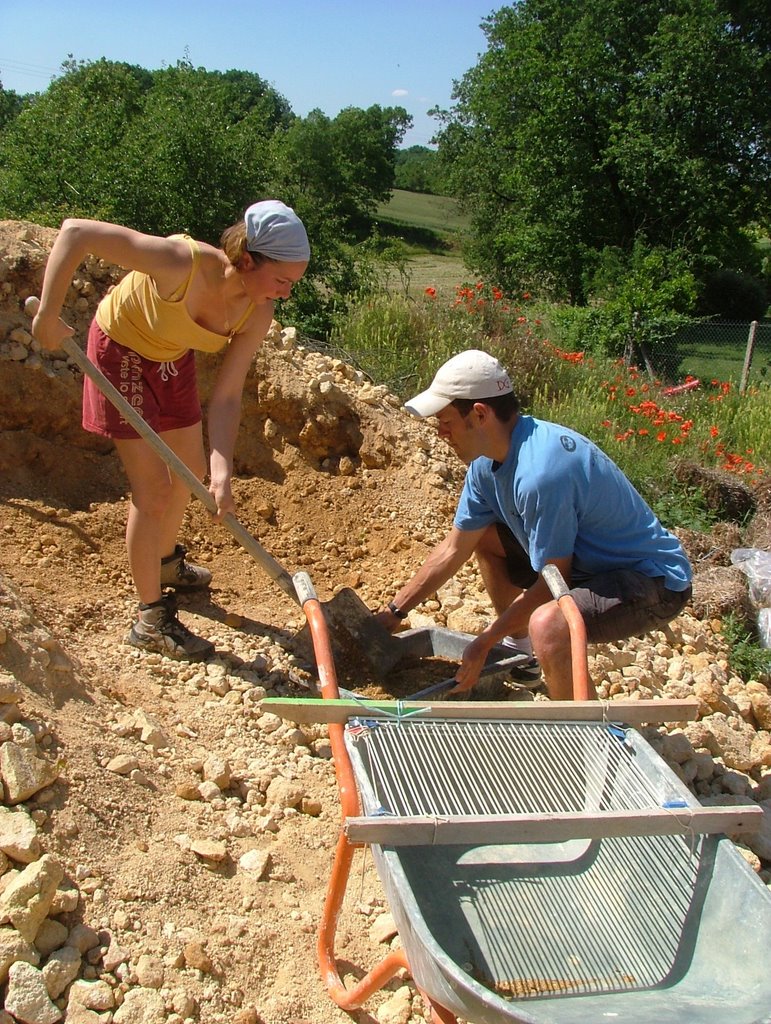
For this layer, we screened our land in order to obtain a particle size of 0-20 (with grids fridge !!!).


This land is then decanted, kneaded (always using a mixer!) placed in a mixer (it also the consistency of yogurt) and mixed with 10% lime NHL 5. After some tests we added the non-puddled soil dries (1 / 2 volume to 1 volume of earth kneaded)
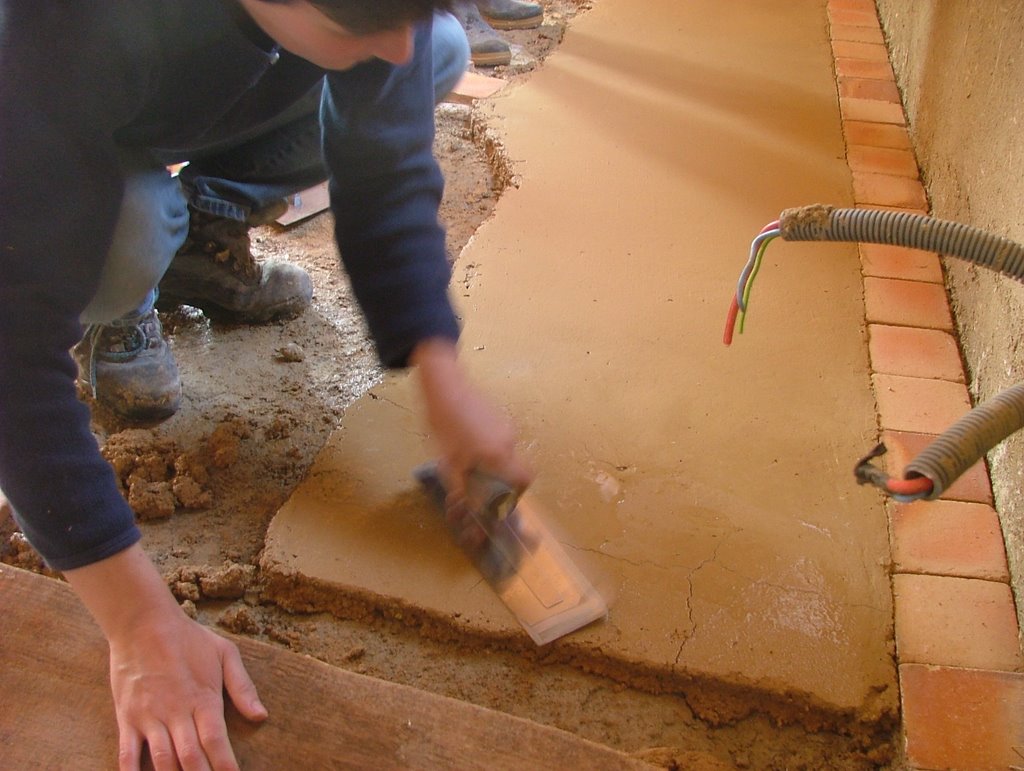
Once the mixture is done, the earth is applied to the first layer, packed with feet, the levels are learned (thanks to ceramic tiles),
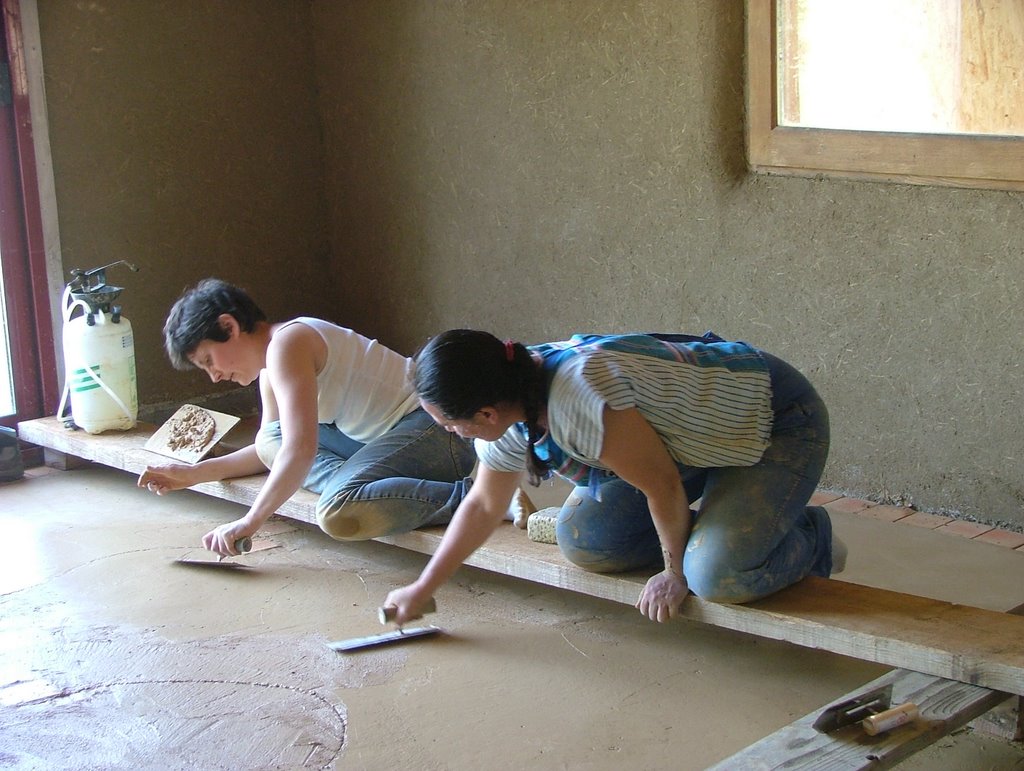
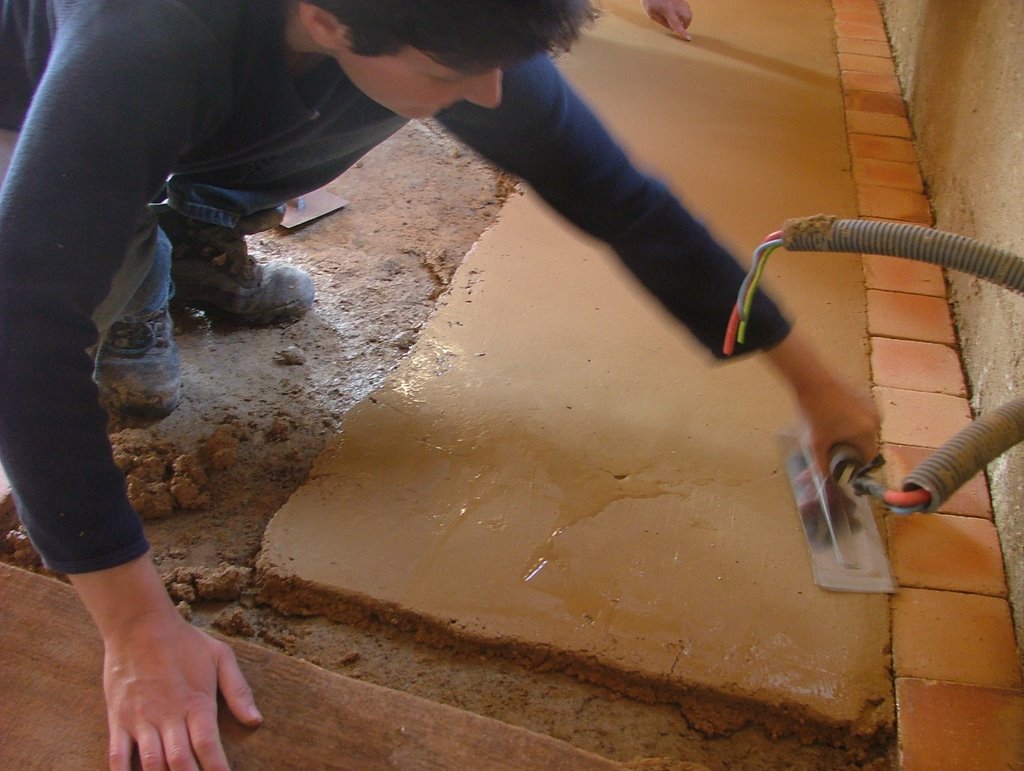
earth is then packed before being floated (with a trowel! hence its name) .. .
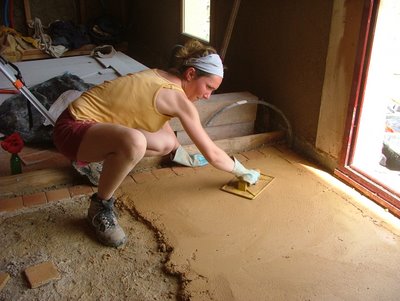
and smoothed (using a trowel! But certainly a smoothing Japanese).

remains the problem of expansion joints. We have artificially created between the terracotta tiles and at the junction between the mud and clay


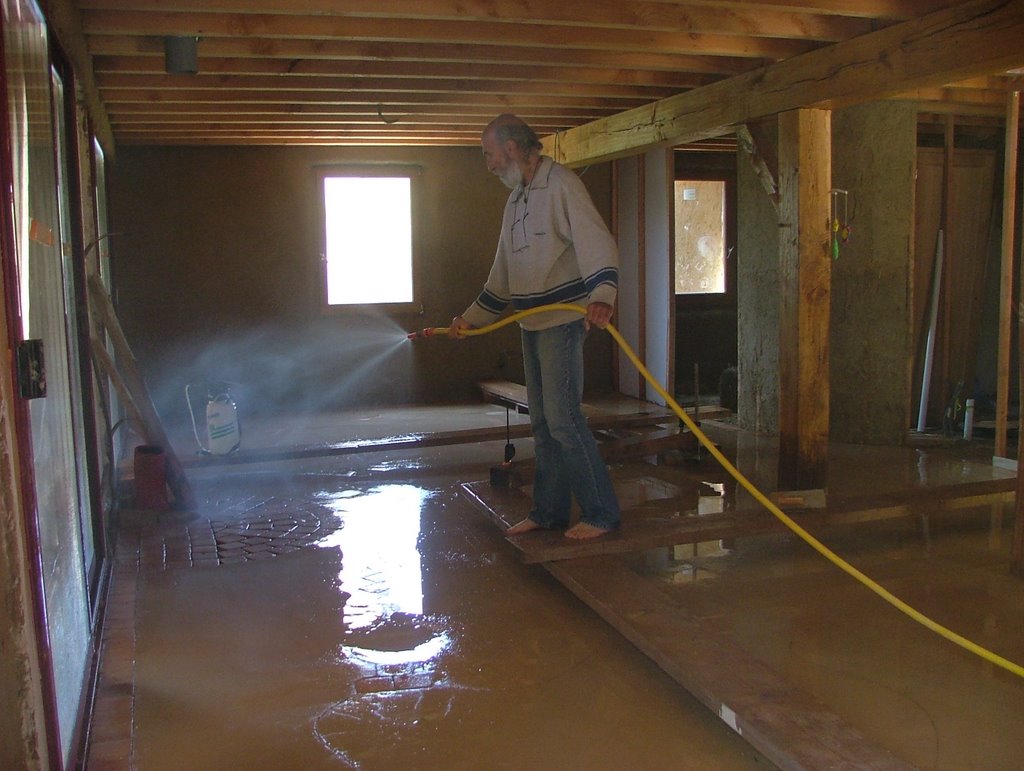
The first days of cracks appeared. By moistening or wetting, and relissant, they disappear for good (at least we hope).


Finally, all is glistening wet (during the time of making lime or 28 days).


Last accuracy we have blocked all direct light sources (windows, windows, doors, windows ...) so that the sun (we wanted a strong presence in the design) does not hit too hard during drying and therefore does not create cracks.
is not it beautiful?? ¨ To sum up :
1st layer: thickness 3 cm
a volume of earth kneaded
1.5 Volume 0-3 sand
0.75 volume of washed limestone 10-20
10% of NHL 5
lime water (+ or-10%)
This mixture is placed, compacted and tamped.
2nd layer (the earth is not the same) 3 cm thick
a volume of earth kneaded (maximum size 20mm)
1 / 2 volume of this dry land
10% of NHL 5
lime water (+ or - 10%)
This mixture is applied, trampled, leveled, tamped, and troweled smooth.
For Z'interessés, living in Aytré Prairial (near La Rochelle (17), is organizing a roundtable on the theme: "self-construction: how to take action" on Saturday 17 from 18:00 .
I will do some of the stakeholders. Do you know if you are regulars of the blog and participating in this roundtable!