Earth, Earth, Earth! After a long period of silence blogosphere, I take time to give you news. The yard-
particpation of 29 and 30 April
In a word GREAT!
We have made great games. So thank you to participants: Camille, Jeff, Manu, Sophie, Rudolph, Helen, Stephen, Laurence and .... Guillamune (this is a special dedication to a fan!)
Thanks to all for friendliness, good humor and the work you have done (because I instantly I'm not too boss!)
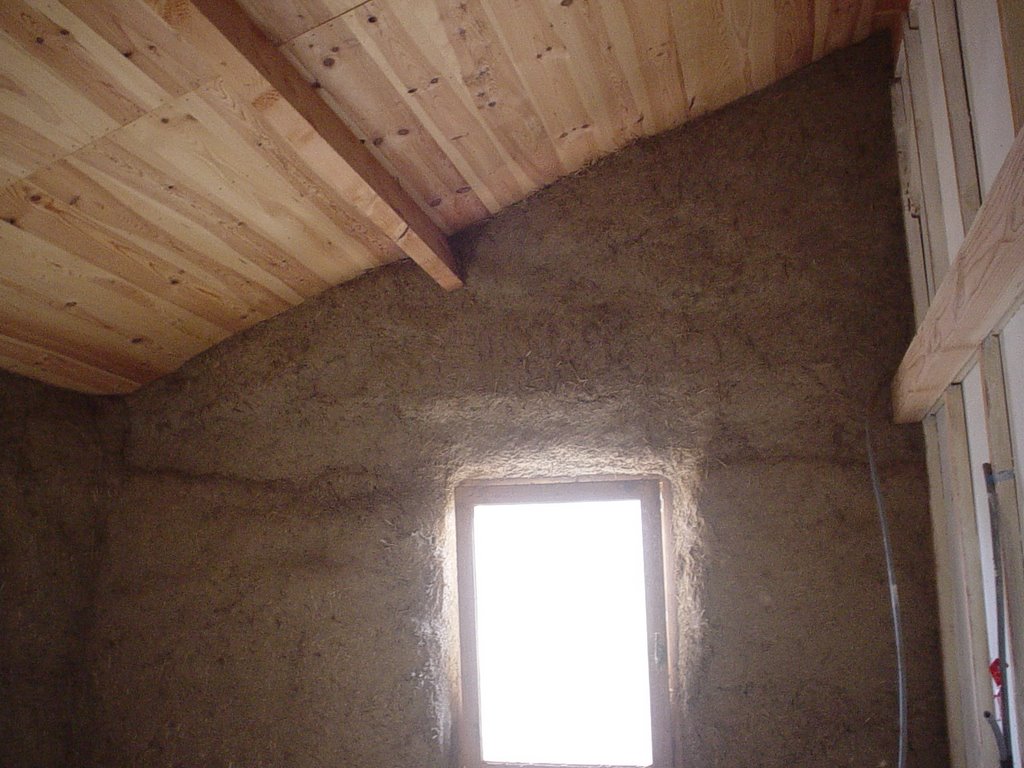
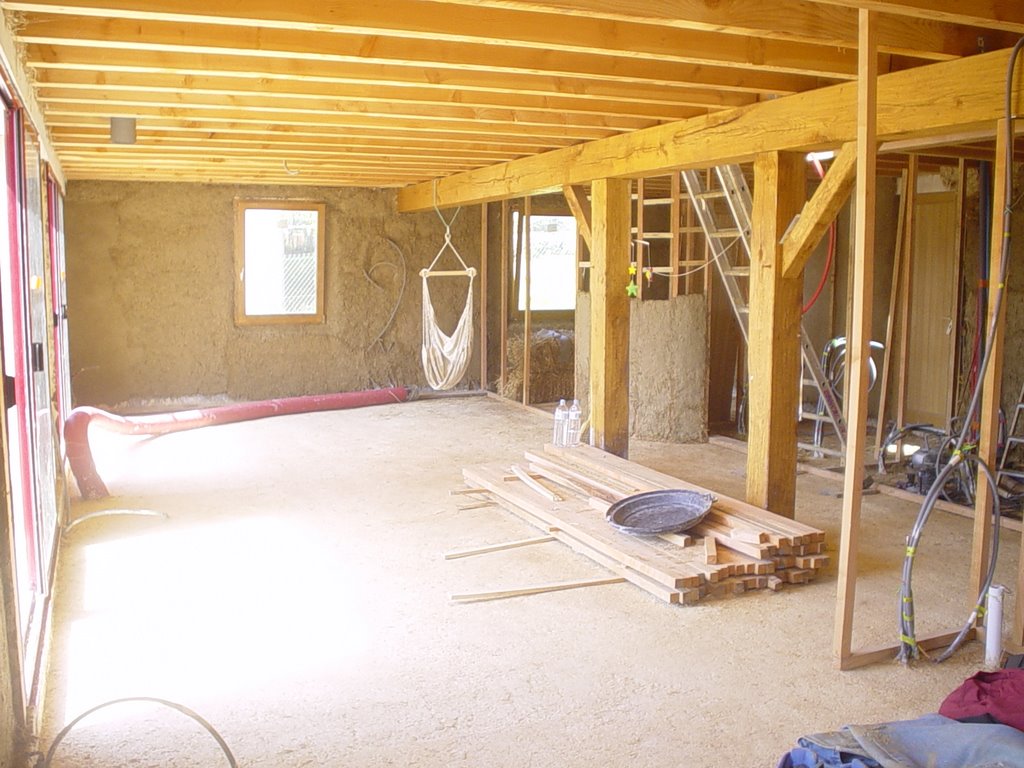
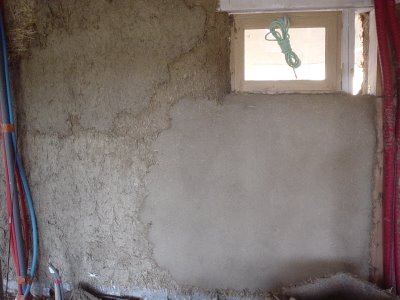
m'enfin, the first layer of coating is almost complete. It remains a piece of gear in a room upstairs and a few square centimeters on the ground floor.


In addition, all participants who wished were able to practice applying the second coating layer. Bravo for the result is really great, we did not have to resume working. For purists, note that the same mixture we prepare for the 1st and 2nd layer, namely:
2 parts sand 1 part straw
1 volume of previously settled land and kneaded.
This second layer applied to the float and provides a relatively smooth surface and walls (admittedly not always right) but with a minimum of bumps and hollows. These are walls Organic!
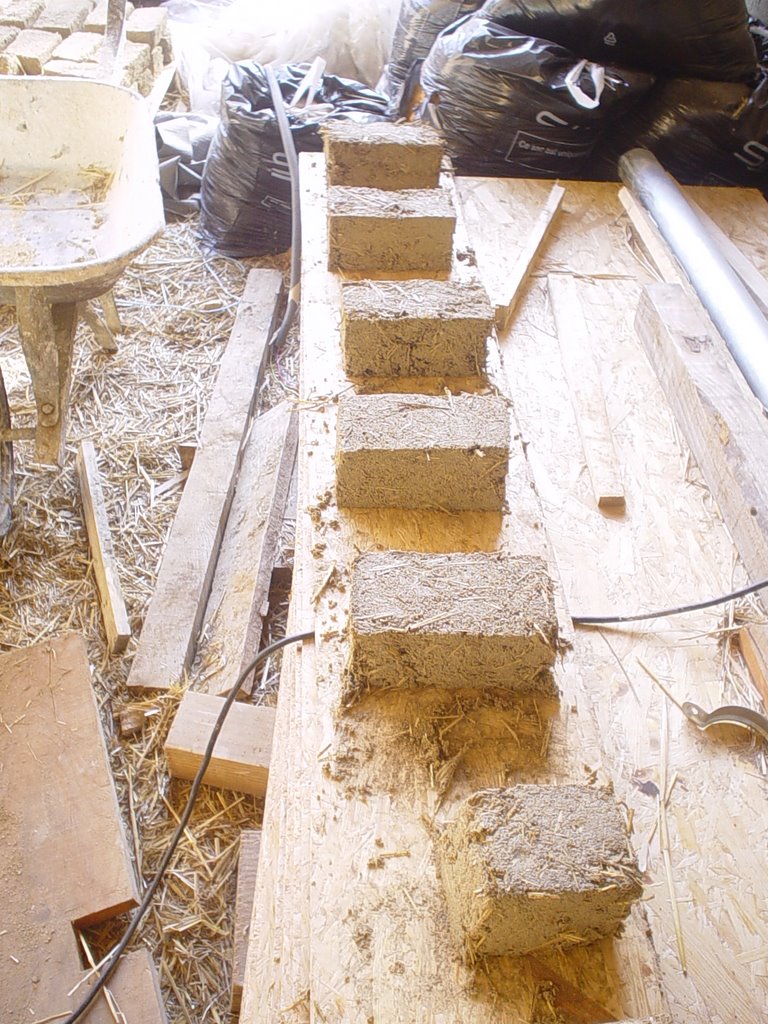
During this project the participants had the opportunity to make adobes
. From the mixture described above, it makes bricks by placing the mixture into molds. Once removed from the molds, these "bricks" are naturally sechéess and returned. do these adobes are not mechanized. They have excellent thermal inertia as they allow optimum. These adobes are placed behind our stove. The wall thus formed will capture the heat from the stove and the subsequent release.


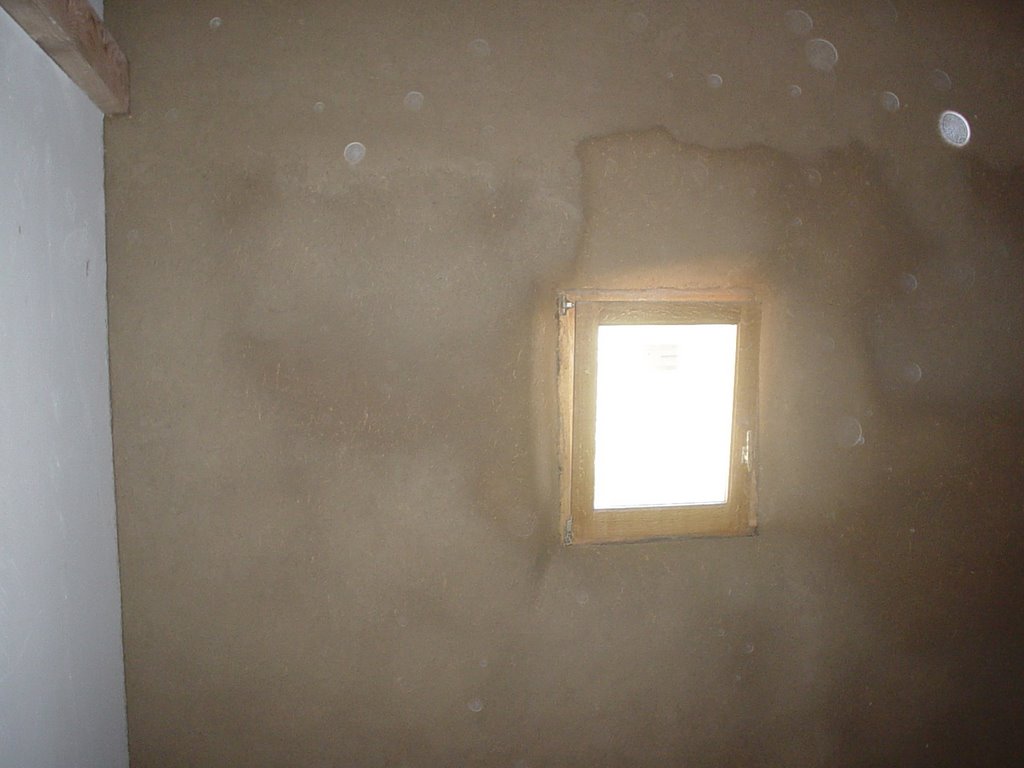
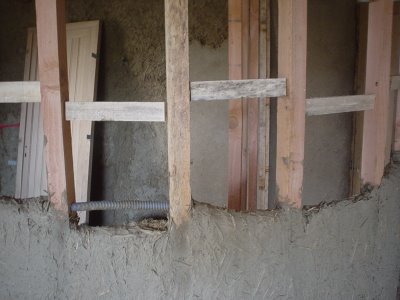
Otherwise, a room has been awarded the "2nd couhce coating" on the straw walls (the other 2 walls are Fermacell). We can therefore consider that in this room, it remains to be done as: Fermacell joints, the finish coat on all 4 walls, installation of joists and floor ... (Almost nothing!)


We tackled a new experience. The main room has a wall round (there was Madame!). To achieve this, we tried a different technique (yet!). We asked a vertical wooden frame (same section as the backbone of partitions Fermùacell) every 23 cm along the desired curve. Between each pillar, we put horizontal battens every 20 cm.

To fill this wall, we made "straw tubes of land." We took the straw as we soaked kneaded into the ground. This mixture is fairly homogenous to be placed around the horizontal battens .. Multiplying these "socks" and then smooth this application. Finally, we end up with a relatively smooth wall, 5-6 cm thick. The problem is the risk of withdrawal of the land dries. But, anyway, it will require a coat of finish on top! This technique is not very long and can easily achieve a curved wall.


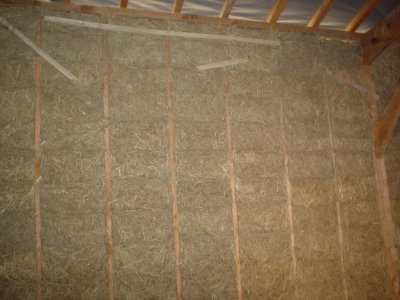
in the family "Beware", I asked the garage. I told you the technique used in the garage (earth-rammed straw). Technqiue This is nice and easy to implement but the land itself shrinks a little and some bays were about to fall. To avoid this 2 solutions:
- put spikes in the vertical: the grip is better and despite the withdrawal of the earth
- put a lattice hoirizontal the 2 sides. The shuttering becomes permanent.
Given what I do in the garage, I opted for a third solution: I applied bits of cleats between the bays. So I consolidated all and there is more risk of falling. It is not very nice but it's a garage and is especially effective.
Otherwise, I would note that the 8 and 9, held the first meeting of manufacturers straw. I participated and I think the mouvenment straw is running. There is a real momentum and a desire to develop all of these networked technqiues. You can find info on the site compaillons
www.compaillons.fr info
Last but not least: we organize at the beginning of June next a participatory site to finish a slab of mud. I quickly give exact dates.
Any takers?