Wednesday, October 25, 2006

Free Cinematic Orchestra Sheet Music

The recovery tank rainwater filters through

In our desire to be as independent as possible, we wanted to install a tank for recovering rainwater.


At the outset, we hesitated to buy a prefabricated tank, but given the cost, we quickly geared towards a self-built tank.
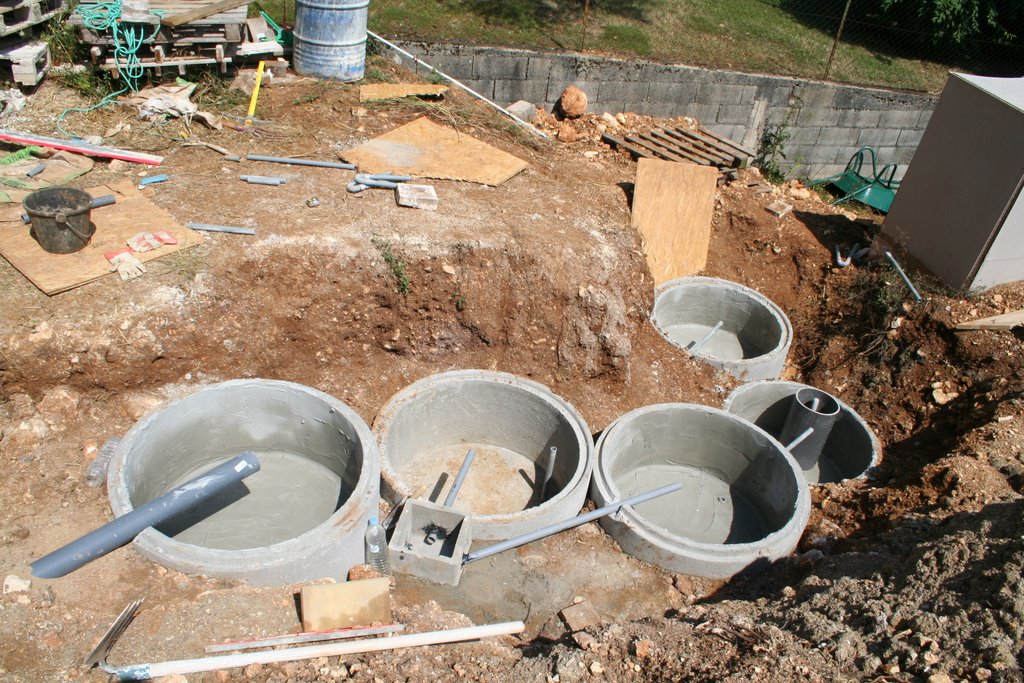
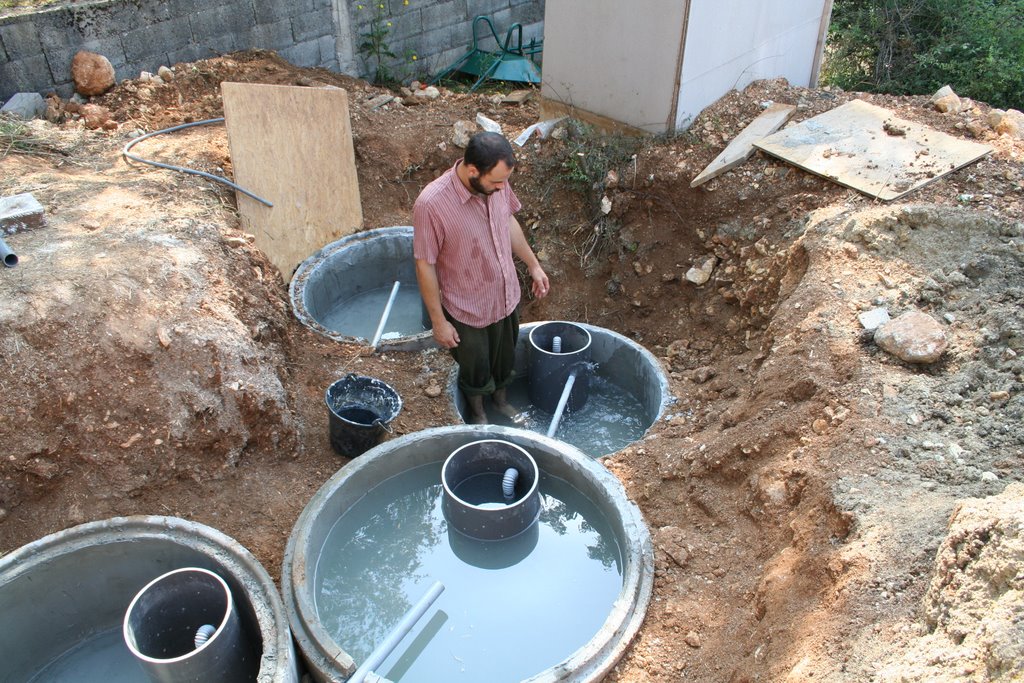
We took the shovel that dug the foundations for making a "hole" of 4 by 4 meters wide and a depth of about 2 meters with the natural terrain.
The aim of departure was to mount a tank of 27 m3 (ie 3mx3mx3m)!


Once the house is located and the final heights are known, we have decided to make a tank 3mx3, 5m ground to a height of 2 m (only) !
For information, precast concrete tank 10 000 l costs about € 1,500 (not included). Although we have not yet finished, ours should we revert to an amount substantially equal to 21,000 liters.

And how they made a tank réupération??
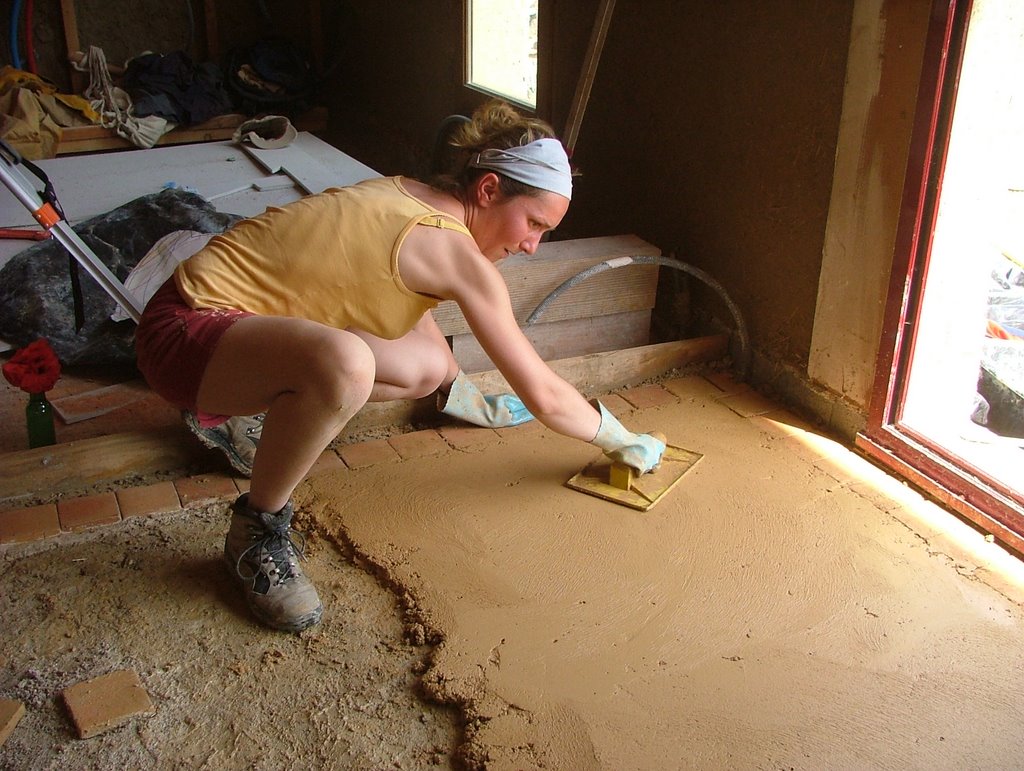
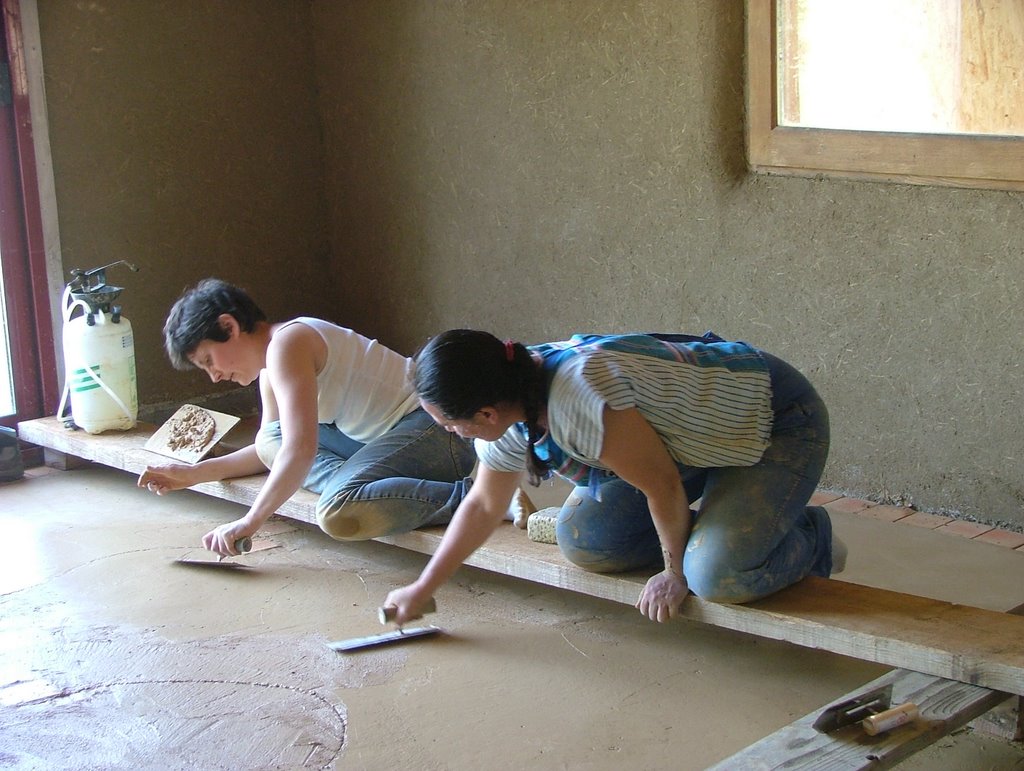
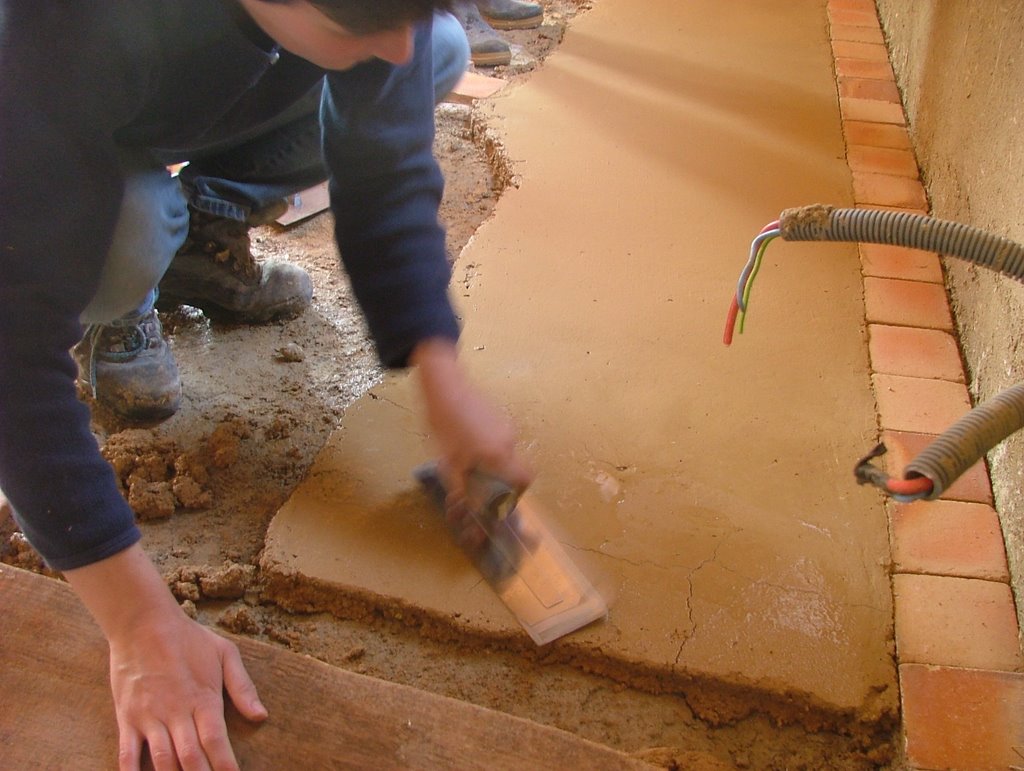
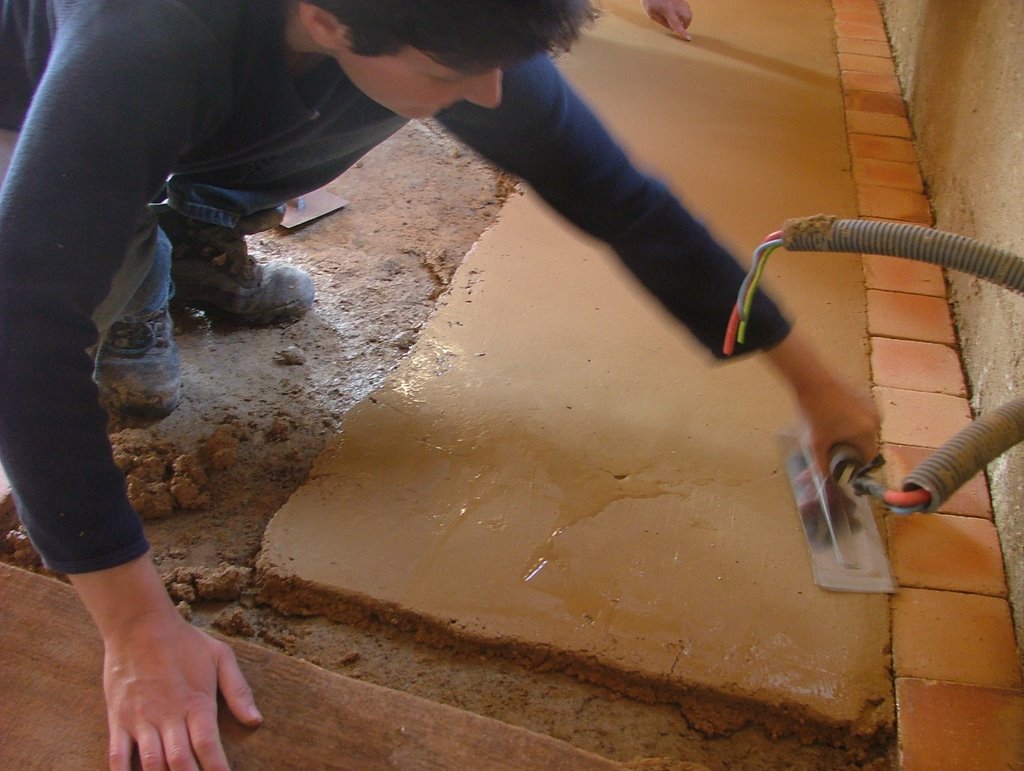
On paper it's pretty simple (really!). First, we must make a concrete slab on the ground. For reinforcing concrete, he must make a wire mesh that is cast in cement. Do not forget (like we did) out of rebars of 10 mm in diameter by 2 spaced ten CM every 20 cm. These irons come out in blocks to be cast in formwork and concrete.


As the slab was poured without rebar, it was necessary to pierce the slab chipper, put the irons and seal the slab ... or how to make simple when you can make it complicated!
Now then, when you have your army with your slab rebar coming out, you can start the pot itself. For insiders, it's the same principle as a pool. For others you need to make formwork blocks (or Stepoc).


These are Block (Arghhhh) hollow. You put the top on your slab tucking the rebars in the holes. There should be 2 holes in irons. The blocks fit together to hook it into each other by small ergos. It's pretty simple? yes, but it must be Maousse strong! We must be careful to seal the top level if the result will be quite galley.
Once sealed blocks must be put rebars of 8 mm in diameter horizontally by tying them to the vertical rebars (those 10mm). It's pretty tedious, but essential to the homogeneity of the structure.
Once the first row asked, you place the second set without mortar. When you've gone around (it takes longer to do than write), you prepare the cement loaded with 300 or 350 kg (follow the directions of the bag). You can then put another layer of rebar from 8 mm to the horizontal ...
You repeat this procedure until the final height. You will find tips to slide blocks along the rebar. If you have more than 2 meters, I suggest you put smaller chains and bring back then.


I summarizes. For a 21 m3 tank, you will need: -1
concrete slab Armed 4mx3, 5m wide
- rebars of 10 mm in diameter around the edges of the slab. These bits are arranged 2 by 2 cm every 20
- blocks of 50x25x20cm in bancher
-120 meters of 8mm rebar diameter
- cement, sand and gravel to fill the formwork blocks (count fifteen bags for all)

Tips osteo requisitioned after the damage: pay attention to your joints! (I left my back) ... and rebar that exceed it's pretty dangerous!

Once the tank made, you will need to coat it inside to seal it and put a "hat". This will be the subject of another article ...

For new readers of this blog, I invite you to reread the archives for the history of the house.
For those who want professional advice more specific (CGR auditors for example), you can contact me at
alpha-bat@laposte.net

Thursday, September 21, 2006

Pokemon Indigo How Do I Get Leafeon

Sanitation

After many (too?) Weeks past without leaving messages I will try to keep this blog updated a little more. In fact, I am pleased to note that attendance has increased significantly since today about 50 people connect daily. It's great Straw right?
This summer has been more than studious as we followed the schedule that we set.

I will not tell you in one message all the work.
I begin by giving the clean (hence the title).

Sanitation by VFCWs

Earlier this summer we enjoyed the participation of 3 persons (Gaëlle Thomas and Baptist). Together under a blazing sun we established pools of sewerage.
Our house is not connected to public sewer, we therefore had to develop a site sanitation. As we took the bias to push up ecologically sound, we wanted to implement an alternative sanitation through constructed wetlands. Previously, we used a desk study (Philippe Redois) which developed a file attached to planning permission. French legislation (for those who do not know) requires that the community is the opinion of bodies responsible for sanitation (either via the DDE DDASS it may be annoying but true!) .
Now then, the DASS has given a negative opinion on our building permit because "the die remediation that we wanted to set up, does not match the usual legislative framework. "The DDASS authorizes the remediation of the 5 channels" classic. "What comes out of it, and whatever the quality of these solutions is automatically
refused .... This allowed us to implement this consolidation legally, is that planning permission is granted by the City Council. The mayor has the sole power to grant or deny a building permit and whatever the opinion of the DASS
... Since we had a record that was the road that we had to be convincing and that we were dealing with people open and intelligent, the permit building has been given to sanitation by basins planted filters
To return to the site this summer, so we dug (in a sweltering heat) the holes for the nozzles. I started to dig by hand and after a few liters of water lost, we rented a mini excavator. Any

the following description corresponds to our facility. It can in no way be used as such in your home without prior study. We
this improvement in place in the absence of blackwater (toilet water) since we have dry toilets. Our sanitation
nozzle consists of wells (not perforated) made of concrete. They are placed on the ground and a concrete cap covering the earth.

In our case, we have 6 pools: -1
nozzle opening hours in which we ask a screening area (drum washing machine), a self-trap (100 cm diameter)
-1 light distributor (look 20x20 cm) -4
vetical basins operating in series of 2 (100 cm diameter) -1
horizontal basin (diameter 100 cm) -1
light collector (look 20x20cm) -1
terminal pool (minimum of 3 m3)

Operation


- In the first nozzle (receiving)
Greywater arrive, the impurtés are eliminated by the washing machine drum.
When the water reaches the top of the auto-siphon, suction is automatically (unbelievable but it really works), the water is emptied aisni of the first nozzle to go to the next dispatcher.

- Within the next dispatch
2 pipes that look to go two vertical tanks. 1 month to 2 of these inputs is blocked. He must block their departure to avoid that water comes in 2 of 4 pools. Indeed, plants have purifying efficaité better if they were put in stress (hence the fact to prevent the intake of organic matter for a month).
The following month, it is the other basins that are fed ...

- In basins vertical
Water arrives in a first tank (qaui is actually the 3rd if you have followed) from above. She must cross the pozzolana found in this basin. In this pozzolana (volcanic rock that is) purifying plants have developed roots that are used to purify water. When the water level is sufficient, self siphon at the bottom of this basin is fired water is partially removed to a second vertical pelvis. The same is done
in this basin and water is then sent to a horizontal basin.


- In the horizontal
Basin Water comes from the top and leaves at the top. It stagnated in the pozzolan (and plant roots) before returning to a look manifold (where it is possible to take samples for analysis) and a pool terminal. The water entering this pool is completely purified and could be released into the wild.

To synthesize (I'm not sure I was clear) our system consists of watershed
-1 -1
look repartitors
-4 -1 catchment basins
vertical horizontal gaze
-1 -1
collector terminal pond

We coated the inside of the nozzles with ASTER CONCRETE. It is a product of St. Astier in making fully waterproof bins.
Self-traps are made of PVC pipes (oops) of 32 mm in diameter.
must be very vigilant about the flatness of the nozzles (they must be perfectly level).

Once installation is complete, we conducted the impoundment to determine if the nozzles were really tight ... This was the case


The next article (ah ah ah) of the tank réupération of rainwater ...
comment freely.

Wednesday, June 28, 2006

What Type Of Hair Does Lauren London Wear

planted the summer program

Like the swallows returning with spring, participatory yards back with the summer!

I am certainly not a poet of the first order but it is not essential to the achievement of our house.

Now then, this summer we organize a few yards participatory:

-From 4 to 7 July
Shipyard open the program: completion of the recovery tank of rainwater (laying blocks and reinforcement) electrical connections (Phase 1), and many other small things.

-From July 10 to 14
Shipyard coated earth: preparation and installation of the bonding layer on the wall of straw, preparing and mounting the body layer, preparation and installation of a clay-lime réagréage.

-From July 17 to 21
Sanitation Yard: Earthwork and installation of nozzles and sealing connection. Please note, this course is limited seating!


-From July 24 to 28

Laying Fermacell plates, construction of joints and sanding

-July 31 to August 4
Shipyard open: PEX Plumbing, Installation of floor coatings and finishing of land , installing doors and many other small things ...

-From August 7 to 11
Laying floor tile, construction and application of seals.

-From August 21 to 25
Shipyard open to finish everything that needs to be done ...

The site is participatory is open to all persons wishing to participate an ecological adventure! No skill is required: a dose of good will ... and clothes that were not concerned enough!
Every week will include specific time for you to present the project and answer your questions and expectations, the extent of my abilities, of course!

From the perspective of logistics, we offer lunches. The accommodation can not be done on the ground. For cons, the house is closed and you can sleep there (it's pretty spartan!).

Contatcs Please let us know if you're interested (s) for 1 day, 1 week or all (who knows?).
To contact us, send a message to the following address: notremaisonenpaille@laposte.net

See you soon!

Thursday, June 15, 2006

Do Straight Men Like To Flirt With Each Other

tile mud!

More than 15 days after completion of construction participatory and I just take the time to give news.
Firstly, welcome new visitors. The journal "The house" gave the address of our blog in its latest issue. So you new visitors feel free to participate.

On that famous slab of earth-it seems to me that the term Fork, as it is finished, would be more appropriate, we organized a participatory starts on Saturday 3 and Sunday, June 4 Thank you to all participants, namely: Sebastian, Amelia, Thomas, Romain, Aurora, Pierre, Jean Louis, Thierry, Anne, Jean-Phi, Helen and Rudolph. Of course, Veronica and myself have participated. Finally thank you to those who provided his advice: Lou. It is indeed
Lou Malvido who provided expertise and know-how.

Before embarking on the description of mixtures and the technique used, I must remember that what we have done here is the specific characteristics of our land. To make your home like a yoke, it should be done prior testing.
Our tests were performed with 2 different lands and techniques that allowed us to get an idea of the final.


Above all we made the choice to "marry" the clay (terracotta) screed to our land. These tiles come from a traditional brick Vendée
These ceramic tiles have been laid up to finished floor (ie slab lime-hemp-straw + 6 cm). These tiles were used to "shoot" levels to the cap in the ground. In fact these are benchmarks that we have been very useful. Word of advice to potential future builders: be careful that the pins are properly installed and the mortar (lime-sand here) has had the time necessary for its decision. We had some little problems here because of course we did not fully complied with these basic rules ... and many tiles were loosened during construction!


Regarding the cap, we did it in 2 layers.

- The first consists of the land that we used for plaster walls. this land is rather heavy clay soil. He was allowed to settle in bins of water and then kneaded in the mixer (incoyable is not!).

this earth, we have added (for a volume of soil), sand 0 / 3 (1.5 volume) of washed limestone 10/20 (3 / 4 volume) and lime NHL 5 (10% of volume).

All these ingredients were mixed in mixer, starting with the dry (gravel and sand) and then the earth (Consistency of yogurt) and finally water (not too).

This mixture should not be too wet.

This layer is placed on the existing floor and 3 cm it is spread to rake, trampled with his feet, pulled level with a ruler and then rammed through a persuader. This tool is the basis for rectifying the bales but it has proved particularly effective for grooming.
This layer is applied over the entire surface (40 m here).


Application to rake


Upgrading


The result after the first layer

-The second layer (and last) is a little different. Already, it is a feat for those who know our field, we used the land from us!!
For this layer, we screened our land in order to obtain a particle size of 0-20 (with grids fridge !!!).


This land is then decanted, kneaded (always using a mixer!) placed in a mixer (it also the consistency of yogurt) and mixed with 10% lime NHL 5. After some tests we added the non-puddled soil dries (1 / 2 volume to 1 volume of earth kneaded)


Once the mixture is done, the earth is applied to the first layer, packed with feet, the levels are learned (thanks to ceramic tiles),


earth is then packed before being floated (with a trowel! hence its name) .. .


and smoothed (using a trowel! But certainly a smoothing Japanese).


remains the problem of expansion joints. We have artificially created between the terracotta tiles and at the junction between the mud and clay


The first days of cracks appeared. By moistening or wetting, and relissant, they disappear for good (at least we hope).


Finally, all is glistening wet (during the time of making lime or 28 days).


Last accuracy we have blocked all direct light sources (windows, windows, doors, windows ...) so that the sun (we wanted a strong presence in the design) does not hit too hard during drying and therefore does not create cracks.


is not it beautiful?? ¨ To sum up :
1st layer: thickness 3 cm
a volume of earth kneaded
1.5 Volume 0-3 sand
0.75 volume of washed limestone 10-20
10% of NHL 5
lime water (+ or-10%)

This mixture is placed, compacted and tamped.

2nd layer (the earth is not the same) 3 cm thick
a volume of earth kneaded (maximum size 20mm)
1 / 2 volume of this dry land
10% of NHL 5
lime water (+ or - 10%)

This mixture is applied, trampled, leveled, tamped, and troweled smooth.

For Z'interessés, living in Aytré Prairial (near La Rochelle (17), is organizing a roundtable on the theme: "self-construction: how to take action" on Saturday 17 from 18:00 .
I will do some of the stakeholders. Do you know if you are regulars of the blog and participating in this roundtable!

Thursday, May 25, 2006

Representantedawellanoespirito Santo

tile finishing greenware

- Prepare first layer
-Apply this layer to level and tamp
Prepare the second-
-layer tamping and smoothing

all this must be about 40 m².
This project will take place Saturday 3 and Sunday, June 4

Do not forget your picnic.
For Sleeping is not easy but it is possible on site

Go Contatcs us for more info.

Sunday, May 14, 2006

Denise Milani Bang Bros Striming

Earth, Earth, Earth!

After a long period of silence blogosphere, I take time to give you news. The yard-
particpation of 29 and 30 April
In a word GREAT!
We have made great games. So thank you to participants: Camille, Jeff, Manu, Sophie, Rudolph, Helen, Stephen, Laurence and .... Guillamune (this is a special dedication to a fan!)
Thanks to all for friendliness, good humor and the work you have done (because I instantly I'm not too boss!)
m'enfin, the first layer of coating is almost complete. It remains a piece of gear in a room upstairs and a few square centimeters on the ground floor.


In addition, all participants who wished were able to practice applying the second coating layer. Bravo for the result is really great, we did not have to resume working. For purists, note that the same mixture we prepare for the 1st and 2nd layer, namely:
2 parts sand 1 part straw

1 volume of previously settled land and kneaded.

This second layer applied to the float and provides a relatively smooth surface and walls (admittedly not always right) but with a minimum of bumps and hollows. These are walls Organic!


During this project the participants had the opportunity to make adobes . From the mixture described above, it makes bricks by placing the mixture into molds. Once removed from the molds, these "bricks" are naturally sechéess and returned. do these adobes are not mechanized. They have excellent thermal inertia as they allow optimum. These adobes are placed behind our stove. The wall thus formed will capture the heat from the stove and the subsequent release.


Otherwise, a room has been awarded the "2nd couhce coating" on the straw walls (the other 2 walls are Fermacell). We can therefore consider that in this room, it remains to be done as: Fermacell joints, the finish coat on all 4 walls, installation of joists and floor ... (Almost nothing!)


We tackled a new experience. The main room has a wall round (there was Madame!). To achieve this, we tried a different technique (yet!). We asked a vertical wooden frame (same section as the backbone of partitions Fermùacell) every 23 cm along the desired curve. Between each pillar, we put horizontal battens every 20 cm.


To fill this wall, we made "straw tubes of land." We took the straw as we soaked kneaded into the ground. This mixture is fairly homogenous to be placed around the horizontal battens .. Multiplying these "socks" and then smooth this application. Finally, we end up with a relatively smooth wall, 5-6 cm thick. The problem is the risk of withdrawal of the land dries. But, anyway, it will require a coat of finish on top! This technique is not very long and can easily achieve a curved wall.


in the family "Beware", I asked the garage. I told you the technique used in the garage (earth-rammed straw). Technqiue This is nice and easy to implement but the land itself shrinks a little and some bays were about to fall. To avoid this 2 solutions:
- put spikes in the vertical: the grip is better and despite the withdrawal of the earth
- put a lattice hoirizontal the 2 sides. The shuttering becomes permanent.
Given what I do in the garage, I opted for a third solution: I applied bits of cleats between the bays. So I consolidated all and there is more risk of falling. It is not very nice but it's a garage and is especially effective.


Otherwise, I would note that the 8 and 9, held the first meeting of manufacturers straw. I participated and I think the mouvenment straw is running. There is a real momentum and a desire to develop all of these networked technqiues. You can find info on the site compaillons
www.compaillons.fr
info
Last but not least: we organize at the beginning of June next a participatory site to finish a slab of mud. I quickly give exact dates.
Any takers?

Thursday, April 6, 2006

Wording Thank You Award

coatings, sealers, coatings still ... earth, earth, earth

After several months of abstinence, we have provided hands into the earth to lay the plaster on the inside.
is less restrictive than outside because there is not need any scaffolding or scale. By cons, take a little time to get all gammata (or troughs) on the floor.

The last weekend we organized a participatory site in which we proposed to reach the earth.
During this project we have enabled the volunteers to learn how to prepare a mixture with our land, to apply it on the boots (first layer), on the lime-hemp and try to apply the second layer.

Free Image Hosting at www.ImageShack.us

Free Image Hosting at www.ImageShack.us

Free Image Hosting at www.ImageShack.us

Thanks to Saturday 8 students and 4-brave who stayed Sunday.

Free Image Hosting at www.ImageShack.us


Thank you to Nicole (she lives in Japan and it almost came just for us!) Hardoin, Sébastien, Amelie, Thierry, Anka, Thierry (another) and Johan.

Free Image Hosting at www.ImageShack.us


All have very well worked and I hope they learned as they have given us. Indeed, following this construction, the first coating layer is over in 2 rooms (and even part of the second layer to one of these two rooms, it is not clear?), in the bathroom upstairs and a third room is made more than 80% (it Countdown to coat the pinion). On the walls of the DRC, the first layer is made almost everywhere! In short, in a word (or rather two): Congratulations and thank you.

Apart from that, the Fermacell continues to occur (thank you Jo) gently but sûrement.Les 6 doors are installed on the floor. It's not very complicated. We made a compromise by taking flush doors. Certainly they are very green but our budget does not allow us now to something else. One day perhaps!

The backbone of the partitions on the ground floor is being finished. We now see the real location of all the parts: it's nice.

The exterior siding is not quite finished because I lack a few square meters. It will be soon. The

PORGRAMME the next days:
Continue laying the Fermacell upstairs
Place the end of the siding on the north side
Apply second coat of earth in the rooms
Apply the first layer where we still see straw.


In this regard, we organize a new participatory site c 29 and April 30 whose program will be:
Preparation and application of earth plaster on walls and straw walls lime-hemp
Preparation and mounting of a wall of earth-rammed straw. We

fournisson technical equipment necessary for training. To you on your own for logistics (meals and sleeping).

Feel free to contact us.

Here is what it looks like about today!

Free Image Hosting at www.ImageShack.us

Free Image Hosting at www.ImageShack.us